Social media can be an incredibly powerful marketing tool but on such image-driven platforms it can be tough to keep finding photos and videos that are worthy of being posted (or that feel relevant to the message that you’re trying to convey).
As an example, consider the options that a clothing store has for social media - they can post new arrivals, styled outfits, items on sale or promotion, teasers about new stock arriving soon etc etc. There are lots of options!
But when you’re in a service-based industry there aren’t nearly as many options, your ‘product’ is really your customers showing up and taking classes. Which is why a lot of businesses turn to posting photos of their customers (with or without their permission) or the same repetitive photos of themselves or their studio space. There are a few issues with this approach:
1 - You may not have permission from your customers to post their images - doing so might cause some people to complain, or simply stop coming to your studio.
2 - There's no continuity to the images so you're not making any headway in establishing your brand.
With those challenges in mind, we believe that one of the best ways to get a collection of quality content to use for future social media posts is to invest in some professional videos and photos of your studio and students.
The up front cost and effort may initially seem daunting, but if you play your cards right and follow a few simple guidelines you can get many months or even years of engaging content out of a few productive hours spent at your studio.
Here are our top tips for making the most out of your time and investment!
Step one: Decide on the types of content you want to capture
Think ahead to the next 12-24 months and consider what type of content will be the most valuable and repeatable. Here are some general categories of types of content to target:
- Neutral photos and/or videos of your studio space without students pictured (including your branding and anything that makes your studio special.)
- Photos and/or videos of your studio space showing students moving through different areas (but not necessarily taking a class). Interacting with the front desk, putting personal items in lockers, etc.
- Photos and/or videos showing your students practicing with you.
- Videos where students talk to the camera (testimonials), or actively interact with you and your instructors.
You may also want to take this to the next level - and that would be a tightly edited video you could use as a promotional video. A short video designed to give an overview of your space, the offerings and the general vibe. This can include a combination of all of the above and is something we recommend you strongly consider to get added value out of your session - a one minute video is a great introduction to your studio and can be reposted (and highlighted on your website etc) for at least a year (or much longer if your studio stays virtually the same and fashion trends don’t change too much!) However this will definitely add to the cost and impact who you choose to work with.
Consider the types of posts you make on social media (and the types of posts you’d like to start making when you have better images to use) as well as the images on your website and work backwards from there to decide what type of result is going to be the most valuable in the long term.
The goal here is to have any photo/video shoot give you a ton of content to keep you going for 12-24 months. So don’t rush in without first really thinking about what’s going to represent the best use of your time, energy and money so you can craft the best plan.
Having a plan ahead of time will also help when it comes to the next part - finding someone to do the shoot!
Step two: Find an incredible photographer and/or videographer
You might already have someone in mind from the local community but if not, it’s time to start asking around. It can definitely be an advantage to work with someone who has knowledge about the type of modality you’re teaching - i.e. someone who practices yoga is going to have a better understanding of what type of images they’ll be able to best capture in a yoga class.
Make sure you view any candidate's past work and don’t be afraid to say no if someone isn’t quite the right fit - this is a big investment and the collaboration needs to be right! We would expect they’ll want to visit your studio and maybe observe a class.
You might have some community members offer to take this on for free or as part of a trade. This is a bit of a controversial topic and we’re not going to advocate one way or the other - you know your community the best so use your judgement and move from a place of integrity to find the right exchange for you. However we will say that it’s often easier to give tough feedback and be a little more demanding about the outcome (which you should be!) if money is changing hands and there’s a clear sense that ultimately you’re in charge.
Some things to discuss with your chosen team:
- How many images and/or how much footage will be provided
- When payments need to be made
- What type of editing will be applied (and whether you’ll get access to the unedited versions)
- Whether any sneak peeks will be available soon after the shoot (we recommend asking them to release a few - you’ll likely be keen to see them and share them!)
- What type of credit they need to have when you use the images (tagged on social media, mentioned in captions etc) and for how long
- Whether candid shots that you take of the shoot process are OK to post
The primary question is one around ownership - at the end of the day, who owns the pictures? (Hint - it should be you!) Remember that the goal here is to create unique, proprietary content to reflect your business.
It’s generally a good idea to have those requirements in some sort of legally binding contract, or just create an agreement on paper that all parties opt into. If you’re working with a professional photographer then most likely they have a standard contract, but be sure to review it and don’t be afraid to create any sort of addendum to address any of your specific concerns.
Involving Your Community
Who is best able to represent the vibe of your studio and the community you’ve built? The community itself! But this is where things get tricky - not every member of your community will want to participate. You can’t just have a photographer show up to a random class and think everyone is ok with that.
It’s important to think this part through to make sure you don’t create any issues or hard feelings within the community you have worked so hard to build.
Step three: Find a suitable time for your shoot
We generally recommend scheduling your shoot on a quiet weekend afternoon to give the widest range of students the opportunity to join but you know your community’s rhythms better than anyone else.
Here are some other things to consider when scheduling your shoot:
- If you’re unsure of the best time you might like to run a poll with a few options and give your community a few weeks to give their feedback (but don’t expect everyone who responds to actually show up to the shoot - this initial survey should be separate to the actual sign-up process!)
- It often works well to schedule the shoot right after a popular class so participating students can just stick around afterwards
- You’ll definitely want to make sure the shoot has a defined start and end time (and then please stick to those!)
- Consider creating the shoot as a class on your studio schedule so participants can sign up easily and you can communicate with everybody from one place (instead of keeping track of dozens of emails and texts)
- Give some thought to choosing the best time of day (or night) - you might like to start the shoot in the afternoon and then get some cosy twilight shots (or start in the moody early morning and then get some bright daytime shots). Anything that gives you a wider variety of images to eventually work with is a good thing, so take some time to assess your studio at different times of day to work out when it’s going to be captured in the best light.
One important consideration - if you’re planning any aesthetic changes to your studio in the near future then absolutely try to get those done before the shoot. You don’t want to spend all of that money and time and end up with images and footage that you’re reluctant to use because they really don’t feel like home anymore.
Step four: consider how (or if) you’ll compensate students
First things first - this definitely isn’t going to feel like a regular class that students will get the normal benefits from. It very rarely works to just teach a session and have the photographer move through the room to capture images or footage - some sections will definitely need to be repeated, shortened or extended to get the right content.
So you can expect to break the mood at least a few times and should definitely be clear with your students about that ahead of time. The session isn’t going to be a “free class” that just happens to have a photographer present - it’s a separate commitment that your community is making to help you with something important.
Since it’s not going to feel like a regular class you should definitely compensate your models for their time. Some people might be really happy to do it for free but providing some compensation goes a long way to restoring energetic balance and making sure it’s a positive experience for everyone (and might mean less people drop out last minute - more on that later!).
This could mean:
- Giving everyone some complimentary classes
- Creating a discount code that they can use for their passes in the future
- Hooking participants up with some merch
- Providing gift cards to other local businesses
- Inviting everyone to stay afterwards for snacks (this should be in addition to any other compensation!)
Step five: consider whether you need to get signed photo releases from your models
Different businesses have different appetites for paperwork and doing things by the book but it’s worth at least considering having participants complete a photo release. Having a signed authorisation gives you something to fall back on if a student changes their mind after the shoot, and also means you can confidently continue to post the images for a longer period (even if the student leaves your studio).
It’s also worth considering whether your approach will differ for your staff and instructors. We know that any team generally feels like a happy family when things are going well but it doesn’t take much for things to turn bad and it’s best to have your legal bases covered.
You can most likely find a photo release online and adjust it to suit your needs but if you want it to truly be legally binding it’s worth running it by a lawyer or someone properly in the know.
Step six: invite your community to be part of the shoot
As part of your planning for the shoot you should have already considered the type of shots and content you’re wanting to capture. So when you’re inviting students to join you’ll want to be very clear about the type of models you’re looking for - i.e. a wide range of people that truly represent your community.
To get those people to sign up we recommend:
- Be very deliberate about making this feel like a truly open invitation otherwise some of your less regular students (or those that feel like they don’t fit the mold of a “model”) might feel like they’re not welcome to participate.
- Make sure to extend the invitation in a bunch of different ways - not everyone is going to read your newsletter, or see your social media posts, or notice any flyers that you put up at the studio so you’ll want to cover all of those options (likely more than once!) to get the best range of folks signing up.
- Try not to put people on the spot by asking them in person - unless you’re very sure they’re going to be comfortable telling you ‘no’. Even someone who generally seems very confident and enthusiastic might still have reservations about participating in the shoot. (This is a major reason you shouldn’t just have the photographer show up and then tell people.)
- It’s a good idea to provide additional information and reassurance up front, i.e. before people decide to sign up - things like letting people know that they can wear what they normally wear to class (or asking them to adhere to a specific colour palette or vibe), telling them what’s going to happen during the shoot and and being clear that they can just do their usual thing can go a long way to setting everyone’s mind at ease.
- Ideally this will result in getting a wide range of students in the class (if that’s your thing!) which is great - potential students (i.e. your target audience) will respond positively to seeing themselves represented and reflected in your current community.
- If you’ve decided that you would like some “talk to the camera” testimonials then we’d recommend making this a separate opt-in when people sign up for the shoot. That way you can connect with those people separately, let them know what’s expected and give them some time to prepare what they’d like to say.
- Your teachers and staff might also be keen to join which is great! Just consider what might happen if they decide to leave the studio - at the very least you might start to feel a bit iffy about using their images.
Step seven: prepare for your shoot day
- Have a good look around your studio and make note of any areas or angles that would be good to capture in addition to photos of your staged class. You know your space better than anyone else!
- Communicate clearly ahead of time so that your shoot team gets you the shots that you need (a list to work through will go a long way here) and make sure you’re crystal clear on what will be delivered (and the timeline)
- Be up front with your models too - make sure they know what time to arrive, what to bring and what time they’ll be free to leave (then stick to it!). Sending a reminder text or email the day before and asking for a final RSVP is a good way to minimise last minute dropouts
- The nature of a free event (or one that people feel like they’re doing as a favor) means that your students might not feel as committed as normal and you’ll almost certainly have some last minute cancellations. Make sure you have a waitlist of folks ready to step in, or deliberately try to overbook the session and use different groups for different parts of the class (this can also help the content feel less repetitive when you do start to post it)
- Consider whether you might like to deliberately mix things up to really make the most of this opportunity - simple things like changing your outfits or your teaching orientation part way through can mean that your content will feel a lot more fresh, even when it was all shot on the same day
- If you are having your models sign a photo release then we’d recommend sending them an online version to complete ahead of time, and also having some available on the day (printed or online) to make sure you catch everybody before the shoot starts
- You might also like to create a “thank you” email or text to send to your participants after the shoot. Even if it’s just a quick draft, having some thoughts already organised will make it much easier to wrap things up with a nice note (and you’ll likely be pretty exhausted on the day!)
It can also be a big help to try and recruit someone to be the overall coordinator, especially if you are going to be teaching the classes. Having a specific person who knows the schedule and can prep for what is coming next will be a huge help on shoot day.
Step eight: shoot day!
The day is finally here! Obviously you’ll want to be at the studio bright and early to make sure everything is looking clean, fresh and ready to go.
In addition to that we recommend:
- Asking your photographer to arrive a little earlier than your models so that you can go over the plan together and be ready to brief your students when they arrive.
- Taking some time to share the planned schedule for the shoot, and checking in to see if anyone needs to leave early or exactly on time (but please finish the shoot on time!)
- If you’re recording clips where students talk to the camera then we recommend scheduling those first up (you might even have those participants arrive at a slightly earlier time) because if the general shoot runs overtime you don’t want to lose that opportunity.
- Keeping an eye on the time and making sure you’re getting the images and footage that you need and agreed on. Remember that the photographer (and/or videographer) are working for you and should be making sure to follow your directions. This is definitely a factor to consider when choosing your shoot team - you want to make sure that you’ll be comfortable giving direction but also trust them enough to give you the best advice so that you can work together for the best outcome.
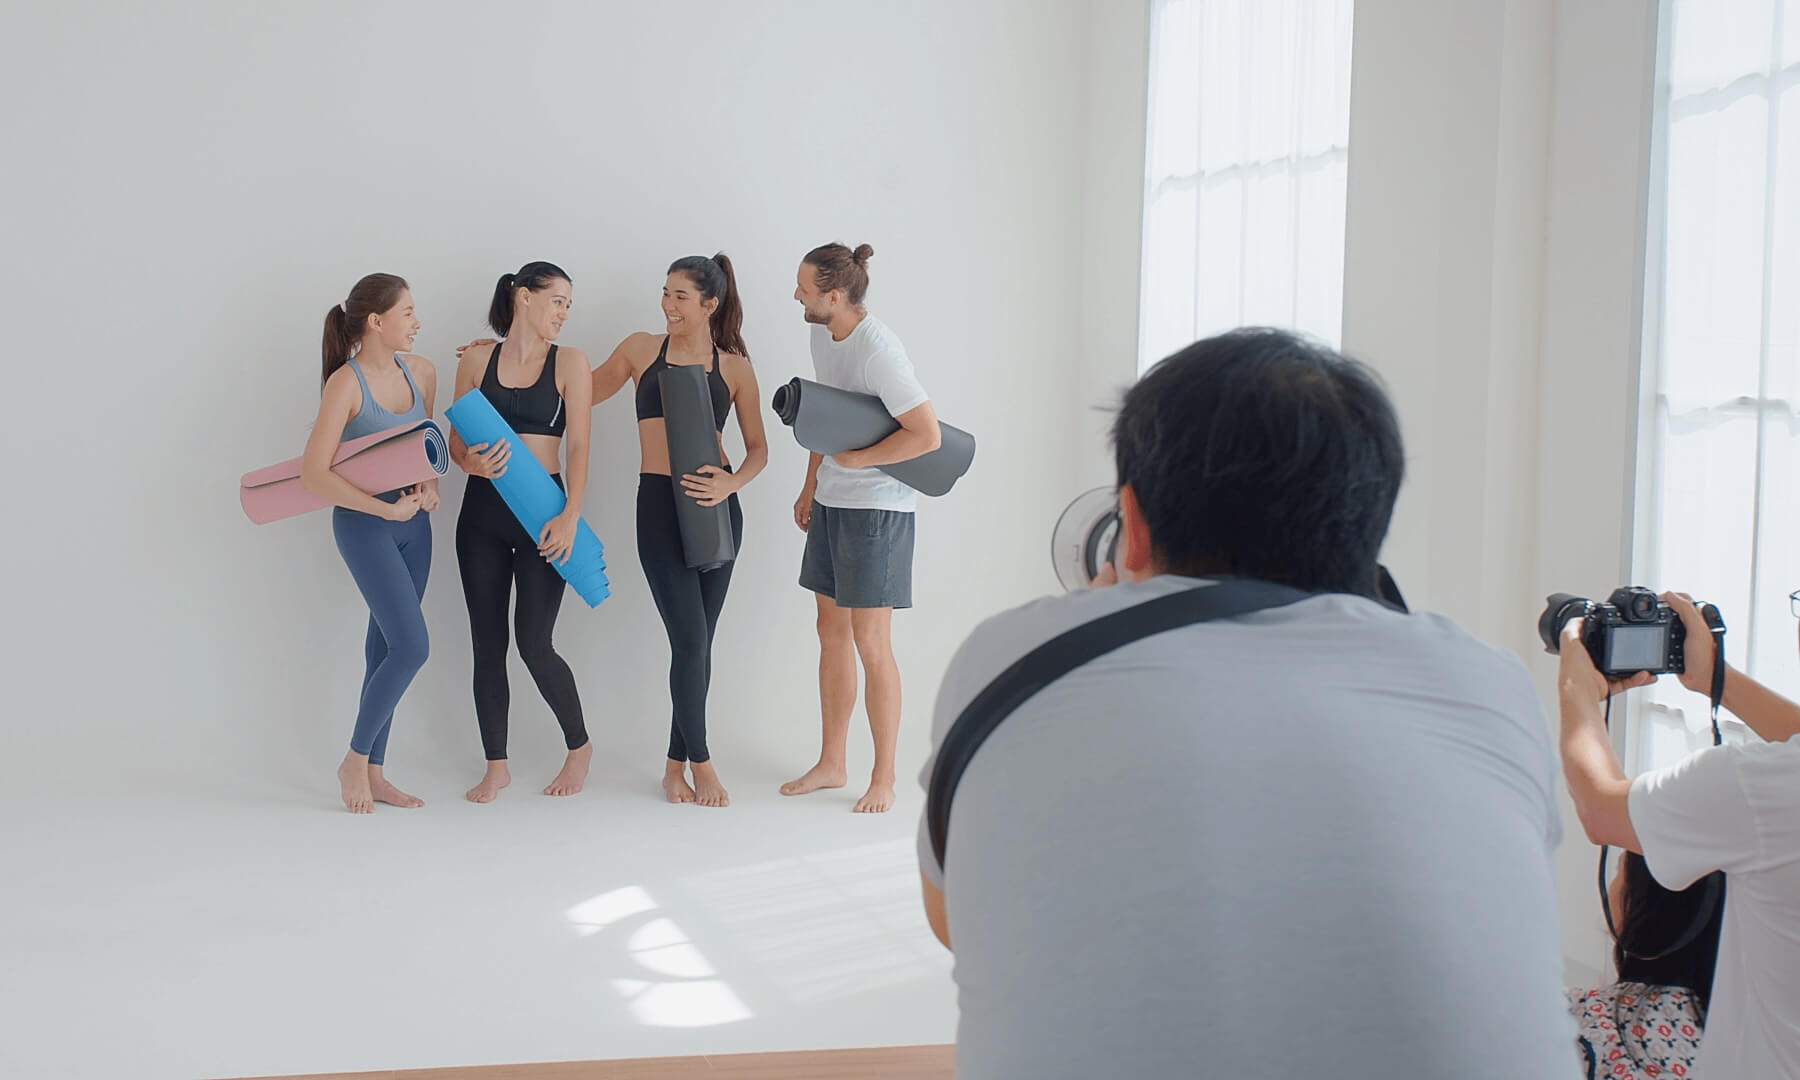
- You might also like to ask one of your participants to capture some photos of the photographers doing their job (or you can take a moment to do it yourself) - these candid pics are great to post in the days following the shoot to get your community excited about the results.
- As the shoot comes to a close, try to find a quiet moment with your photographer to review your initial plan so you can make sure you’ve captured everything that you intended to. You’ve already invested a lot into the day so make sure you finish strong - it will be very hard to recapture any missing moments after the fact so take a breath and make sure you have everything you need.
- And, of course, thank your participants and let them leave on time (or even a little bit early - everyone appreciates an early minute!)
Step nine: After the shoot
At this point you’re most likely going to be exhausted, physically and energetically, so give yourself permission to slow down, take a breath, rehydrate and maybe enjoy a sweet treat!
Before you head home make sure you take some time to reset your studio so it’s ready for your next classes, and secure any items that may have been left behind by your models.
When you eventually get back to your desk we recommend sending a quick follow-up email to your participants - thank them for a successful day and let them know when they should expect the images to start being shared, as well as how to claim any of the compensation you offered them for being part of the shoot.
Now the long wait begins for the images and/or videos to be delivered. This may take some time so hopefully you asked your shoot team to provide a few sneak peeks that can be used in the meantime.
When your assets eventually arrive, make sure to compare them to your contract or other documentation to make sure you got everything you asked for (and paid for!).
And after that? It’s time to enjoy having a stash of beautiful, relevant images to use when you share information and promote your offerings on social media, your website and beyond. Share them widely but also be a little bit tactical - holding back on photos with a specific vibe or focus can let you revamp your images all over again in a few months, without doing another shoot.
Frequently Asked Questions
How often should I do a new content shoot?
If you prepare properly then the quality content you get from a studio shoot should feel relevant for at least 2 years.
What are best practices for involving students as models?
The primary consideration is to make sure your community feels comfortable saying yes to being involved, but equally comfortable declining your invitation.
Are there legal considerations for hiring a photographer and sharing students’ images?
Yes - if at all possible we recommend engaging a lawyer to create a contract and/or photo release so you’re legally covered for all eventualities.
Can I just take photos of my students while they’re in class and post those instead?
This approach can be problematic in a number of ways, but the main concern is that your community is entitled to an expectation of privacy when they’re participating in your classes and getting express permission to post candid photos can be very tricky (or impossible).
What if I’m on a tight budget?
You could definitely take a lot of these guidelines and use them to create a low-cost shoot. You might need to do a little more planning but if you have a newer phone or camera and some basic editing skills it’s still possible to get a great result with very little financial outlay. You may also be able to find a student who is interested in the job as a way to get experience and an early portfolio.